What do you call a window on a boat? Porthole? I think of a porthole as an opening window, so not that. In our family we always called them portlights, so that is what I'm going to go with - new portlights.
 |
| New 3/16 tinted acrylic (still with the sticky paper on) over the old faded and crazed portlights |
During the last haul out, I took on the faded and scratched portlights that had done a good job for 10 years. The original builder had committed the crime of sealing the portlights with silicon. It took a day of solid work to get the silicon off the cabin sides for four small windows. I knew it would be a tough job and was convinced by the interwebs to order and try an expensive product called Debond Marine Formula. I can't honestly say that it did anything. In the end the most effective method was a good ol' razor blade followed by sandpaper. You can never get silicon entirely off, but I got the hull sides dead smooth and clean, if still a little slippery. I then went ahead and prepped and painted the cabin sides with 5 coats.
 |
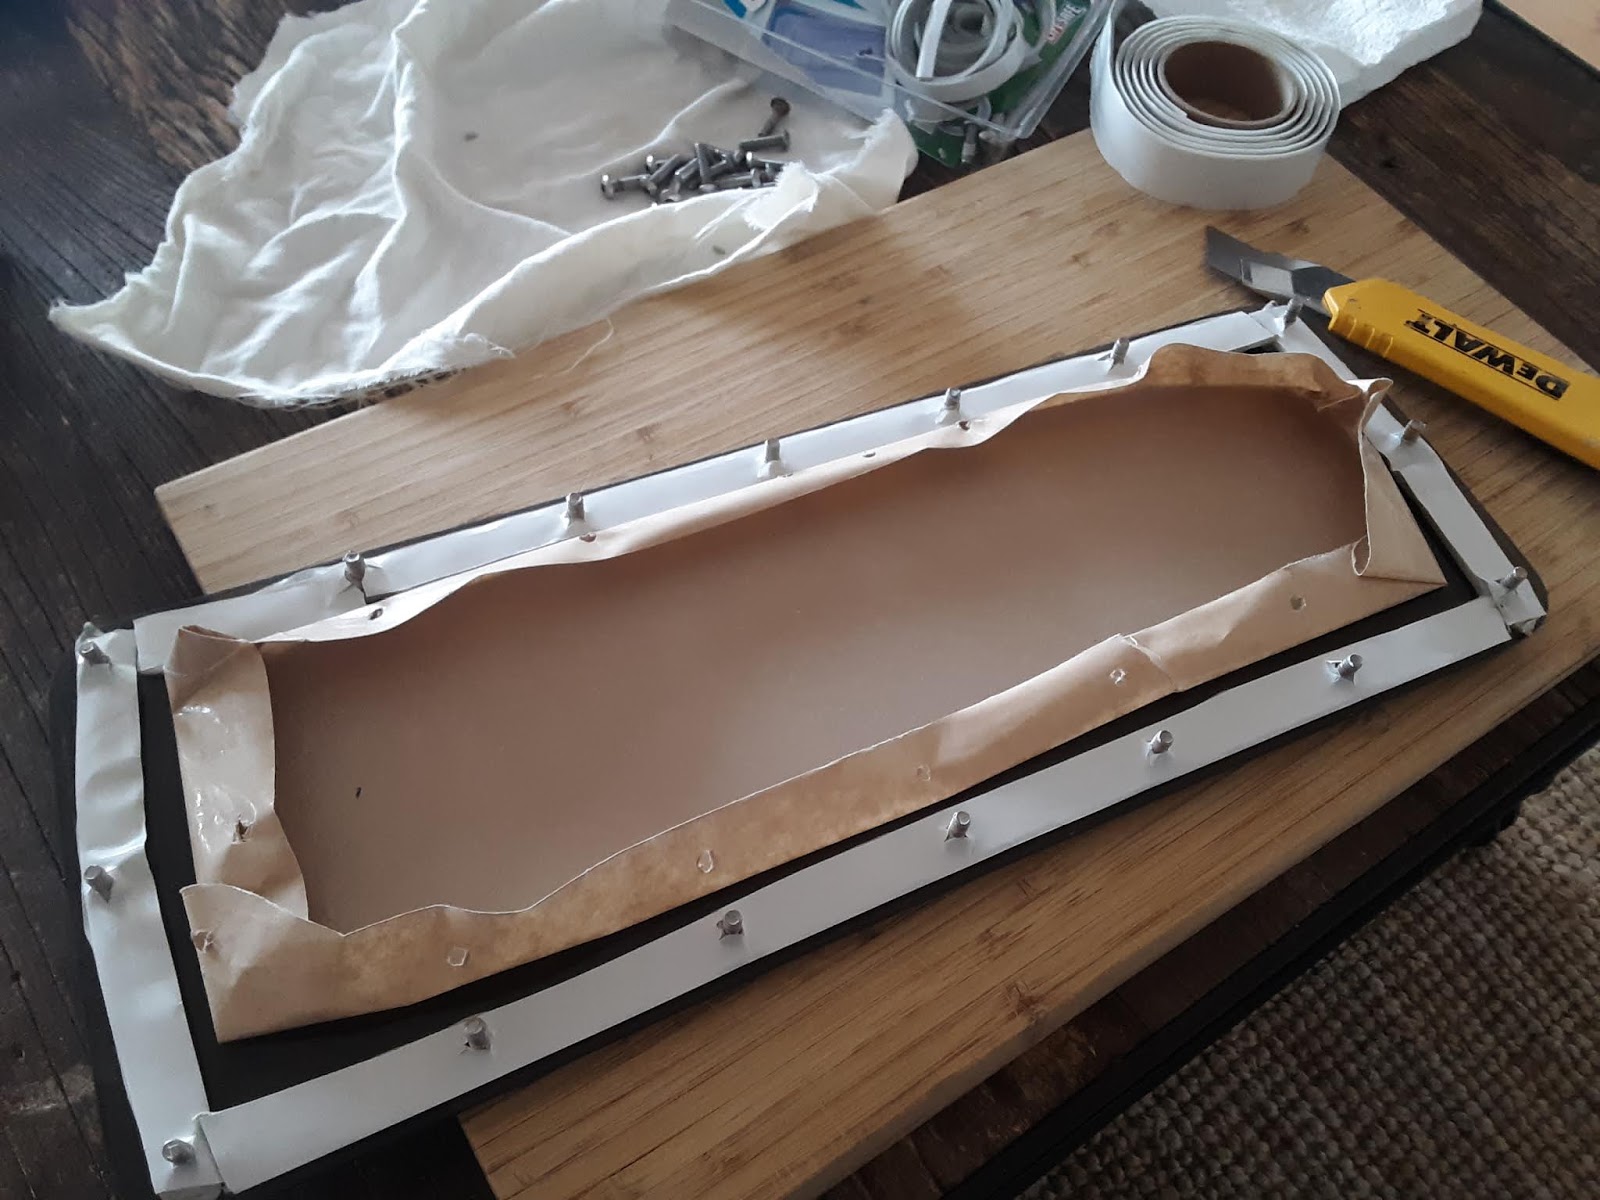
| Pre-applying the butyl tape and screws |
I ordered new 3/16 tinted sheet acrylic, and cut out the new windows using the old ones as templates. This made the whole job really easy and starting from scratch without the templates would have been a much bigger job. I clamped the new acrylic windows to the old ones and drilled through the old screw holes to get perfect reproductions of the original portlights.
 |
| Leave the protective film on until the portlight is installed on the boat |
Instead of using a permanent hi-tech bonding goop, I used an old fashioned product that has come back into vogue - butyl tape. This stuff is amazing - it has the consistency of plasticine and can be shaped to suit what ever you need to seal, in this case a bead around every window.
 |
| Back in place |
I pre-applied the butyl tape in a bead around each portlight, and stuck each of the screws through the tape ready to re-fit on the boat. It is best to leave the protective film on the acrylic as long as possible to protect it during fitting.
 |
| Looking swish |
Back on the boat, the fitting was very easy, with the screw holes lining up perfectly. I reused all of the original screws, but bought new nylock nuts and washers. As you tighten down the screws, the butyl tape squishes out and you can stop at the point that you are happy with the seal. The excess can be scraped off with little residue left behind. The best thing is that the butyl never goes hard, and the next time the portlights need to be replaced, they will pop right off. Now I just need to convince one the Little Helpers to come and hold the allen key outside while a do the final tighten down on 60 nuts inside the boat.


Hi there,
ReplyDeletegood to see you continue to sail and post your experience. I had missed your last December blog.
BTW, what type of anchor do you use? the one your ruined?
I am sailing my 27" home build Hawai'ian outrigger mostly in the South Bay. Your blog has inspired me to upgrade so a weekender that I can also take to Point Reyes. etc.
Greetings
Chris
Hi there, I just saw your reply. (looks like I don't have any notification set up). Thanks to your post I just successfully used Seafoam for my once a year chainsawing exercise.
DeleteBTW, when you anchor over night in the Bay (or Point Reyes), do you use an "official" anchor light or do you simply go dark?
Greetings
Chris
It was a welded aluminum spade home made by the original builder.
ReplyDelete